Mastering the trim tool in Adobe Premiere Pro is essential for creating polished videos. This powerful feature allows you to precisely adjust the start and end points of your clips, ensuring smooth transitions and perfect timing. Whether you’re cutting out unwanted footage or tightening up your edits, the trim tool offers flexibility and control in your workflow.
In this guide, we’ll explore how to effectively use the trim tool to enhance your video projects, from basic trimming techniques to advanced options like ripple and roll edits. Perfect for beginners and pros alike, understanding this tool will elevate your editing skills.
What is the Trim Tool in Adobe Premiere Pro?
The trim tool in Adobe Premiere Pro works by enabling frame-accurate adjustments of clips directly on the timeline. When you activate the trim tool, your cursor changes to indicate that you can modify edit points between clips. By dragging the edge of a clip, you can shorten or lengthen it depending on the available footage.
This method gives you complete control over the timing of your edits without disrupting the arrangement of other clips. The trim tool is especially useful when syncing audio and video or when you want to create seamless cuts that enhance storytelling.
How to Access and Use the Trim Tool
Accessing the trim tool is straightforward. Simply press the T key on your keyboard or select the trim tool icon from the toolbar. Once activated, hover your cursor over the boundary between two clips to see the trim indicator. Clicking and dragging will allow you to adjust the in or out points with precision.
For even more accuracy, Premiere Pro offers keyboard shortcuts such as the comma and period keys to nudge edit points one frame at a time. Holding the Shift key while nudging moves the edit point in increments of five frames, making it easier to find the perfect cut.
Read More: How to Perfect an Edit with Finishing Touches
Advanced Trimming Techniques: Ripple and Roll Trim
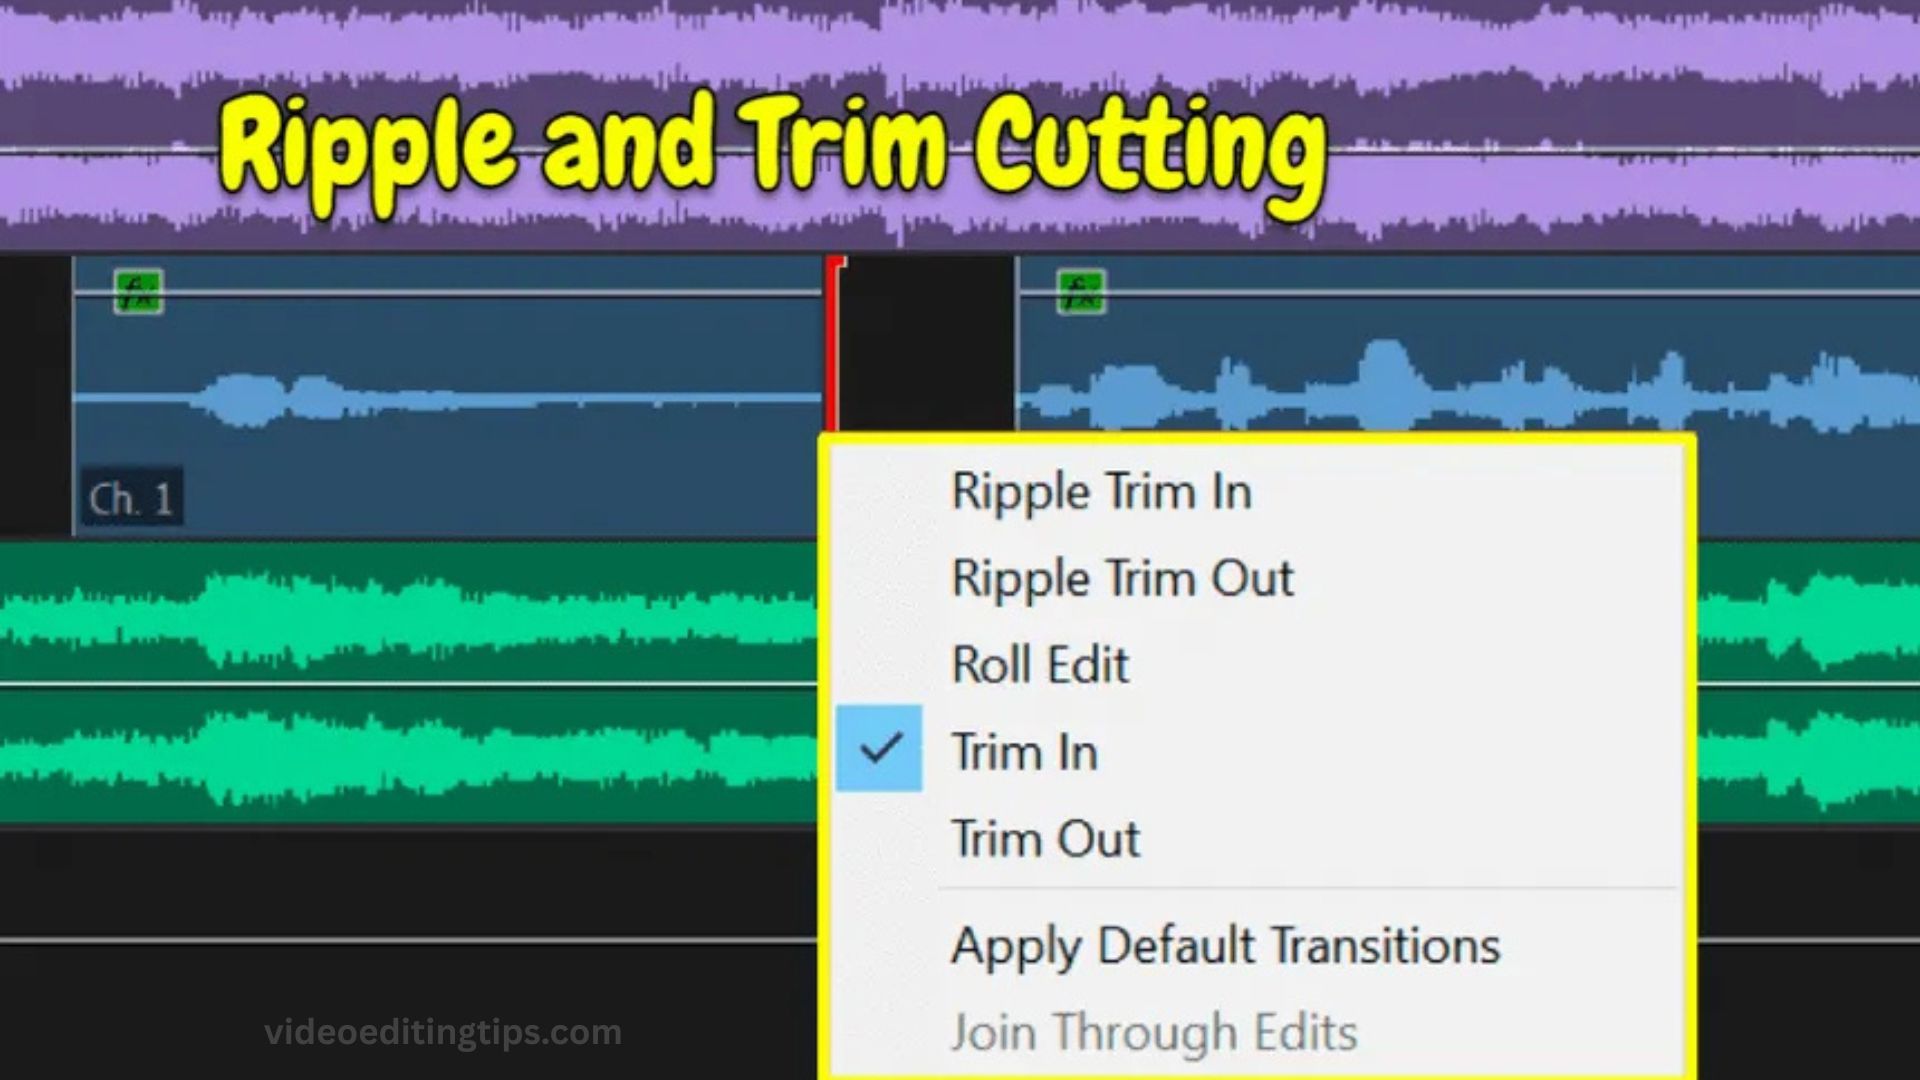
Beyond basic trimming, Adobe Premiere Pro includes advanced trimming features like ripple trim and roll trim. Ripple trim adjusts the length of a clip while automatically shifting the position of downstream clips to close any gaps. Roll trim, on the other hand, moves the edit point between two clips simultaneously, changing the out point of the first clip and the in point of the second.
These options help maintain a seamless flow in your timeline and speed up your editing process. For the most detailed adjustments, the Trim Monitor allows you to view and trim clips side-by-side, providing a clearer picture of how your changes affect the overall edit.
Common Issues When Using the Trim Tool
While trimming is powerful, some common issues can arise. For example, you may not be able to trim a clip if it is locked or if there is no extra footage beyond the current edit points.
Audio and video can sometimes fall out of sync when trimming linked clips; unlinking them temporarily can help you trim each separately. By learning to troubleshoot these problems, you can avoid frustrations and maintain a smooth editing experience.
Frequently Asked Questions
What does the Trim Tool do in Adobe Premiere Pro?
The Trim Tool lets you adjust the in and out points of clips directly in the timeline, allowing for precise control over where a clip starts and ends without removing footage from the source.
How do I activate the Trim Tool in Premiere Pro?
You can activate the Trim Tool by pressing T on your keyboard or by selecting the Trim Tool icon from the toolbar in the timeline panel.
What is the difference between the Trim Tool and the Razor Tool?
The Razor Tool cuts clips into separate segments, while the Trim Tool adjusts existing edit points without splitting the clip into new pieces.
Can I trim both video and audio at the same time?
Yes. If the audio and video are linked, trimming will affect both simultaneously. You can also unlink them to trim each independently.
What is Ripple Trim in Adobe Premiere Pro?
Ripple Trim adjusts a clip’s duration while automatically moving all subsequent clips to fill the gap, keeping the timeline continuous without empty spaces.
How can I trim more precisely in Premiere Pro?
For frame-accurate trimming, use keyboard shortcuts like the Comma (,) and Period (.) keys to nudge edit points by one frame, or hold Shift to move in five-frame increments.
Why can’t I trim a clip in Premiere Pro?
You might be unable to trim if the track is locked, the clip has no extra footage beyond its current in or out points, or snapping settings are interfering with the trim action.
Conclusion
Trim Tool in Adobe Premiere Pro is more than just a simple editing function it’s a precision instrument for refining your video projects. By mastering its basic and advanced features, such as ripple trimming and roll trimming, you can significantly speed up your workflow while maintaining professional-quality edits. Whether you’re tightening a scene, syncing audio, or creating smoother transitions, the Trim Tool gives you full control over every frame.

